Graphic Hoodies & Tees
For printed and embroidered garments, where the artwork is the product and buyers judge the print before the cloth.
How the sequence works.
Shoppers move through a listing in order, and each frame has a job to do before the next one matters. Here is what every shot in this template is for, and what it costs you to leave it out.
- Required
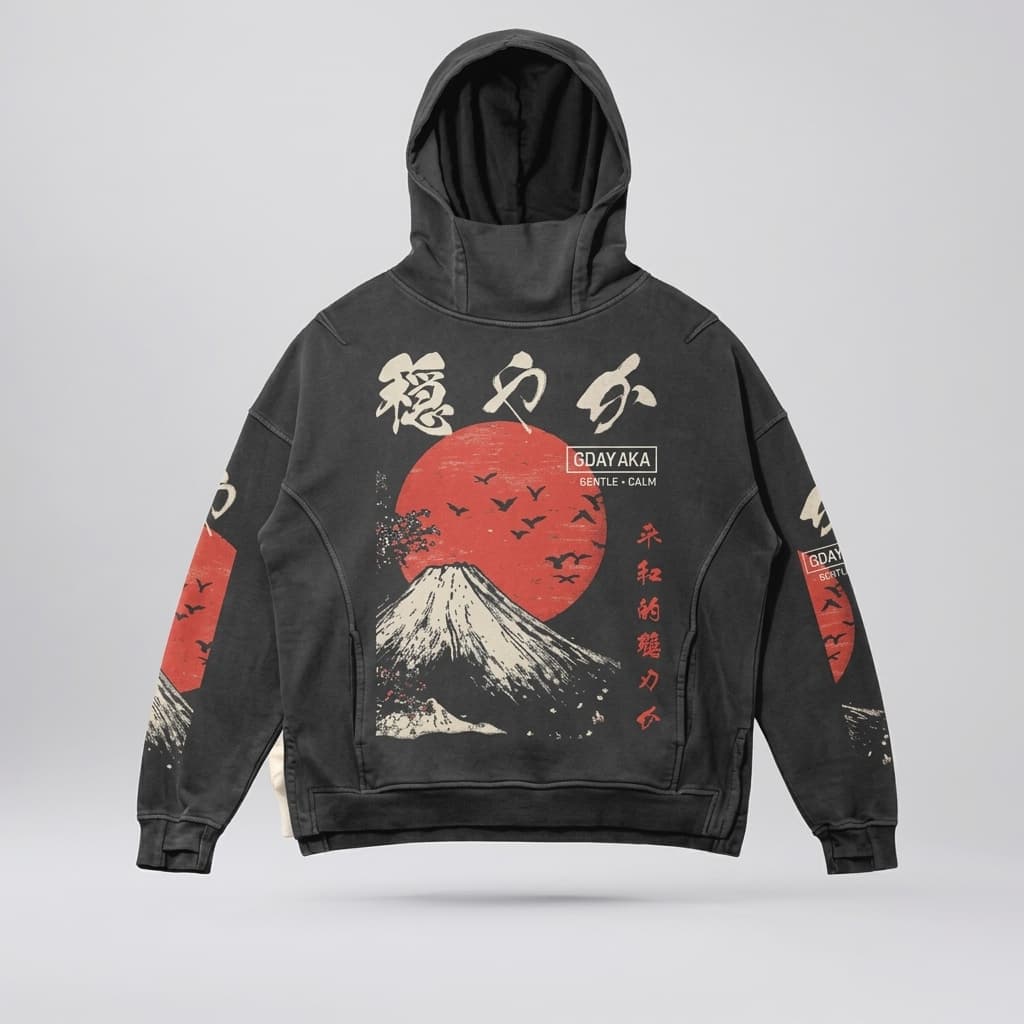
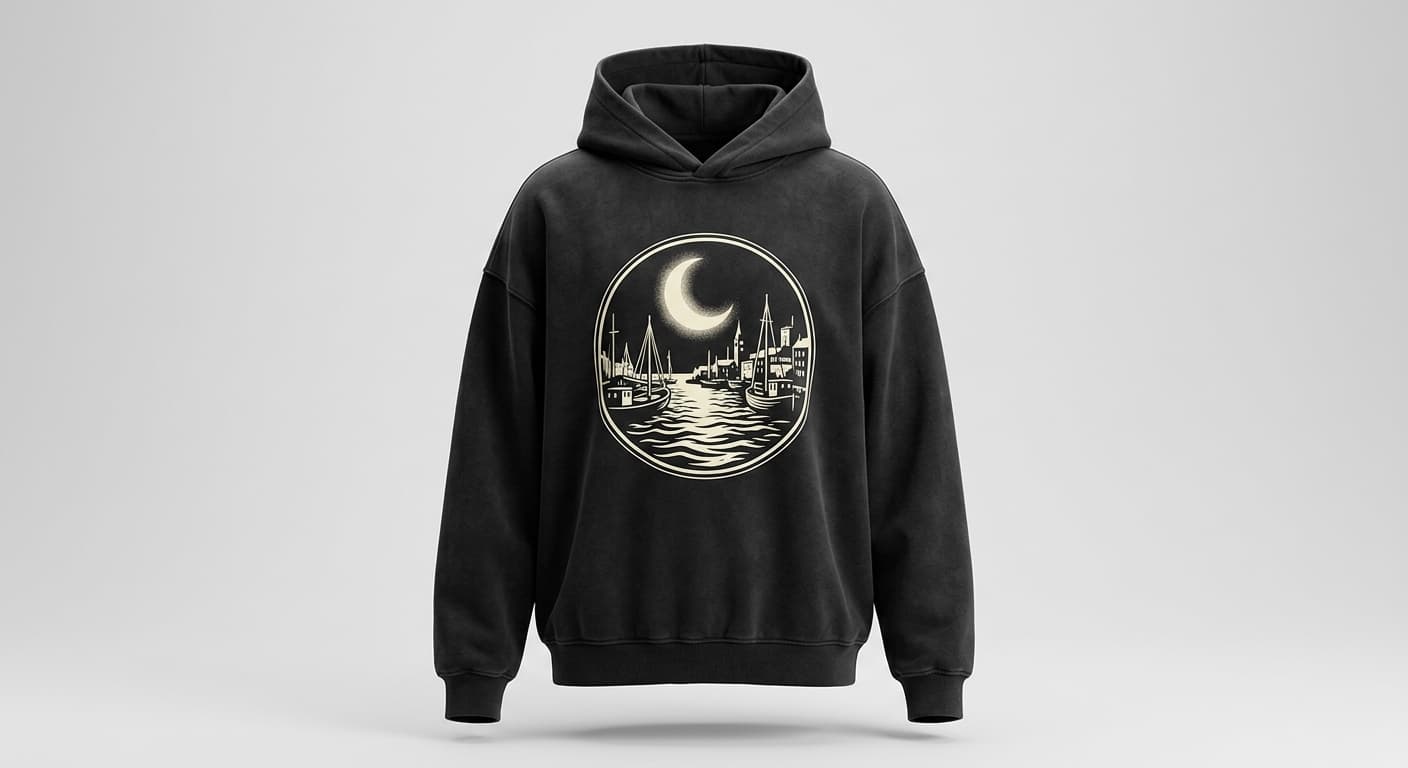
Front Hero Shot
On a mannequin or laid flat, wrinkles smoothed, hood flat behind the neck, centred and filling 70-80% of the frame.
Hang it on a mannequin or lay it flat, smooth the wrinkles, set the hood flat behind the neck and straighten the drawcords. Shoot at chest height from 1.5-2m against a plain wall — and if you sell colourways, keep the same setup for all of them so the set reads as one shoot rather than five.
 Required
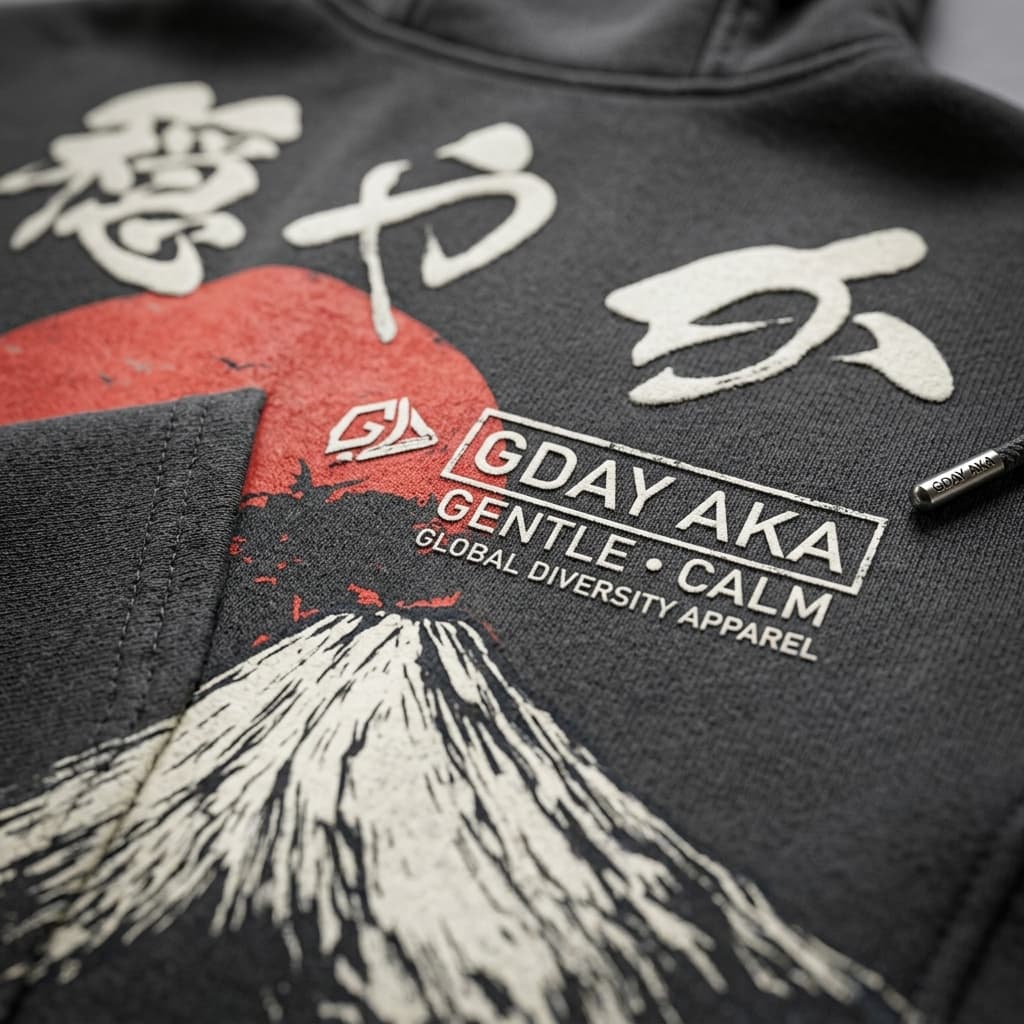
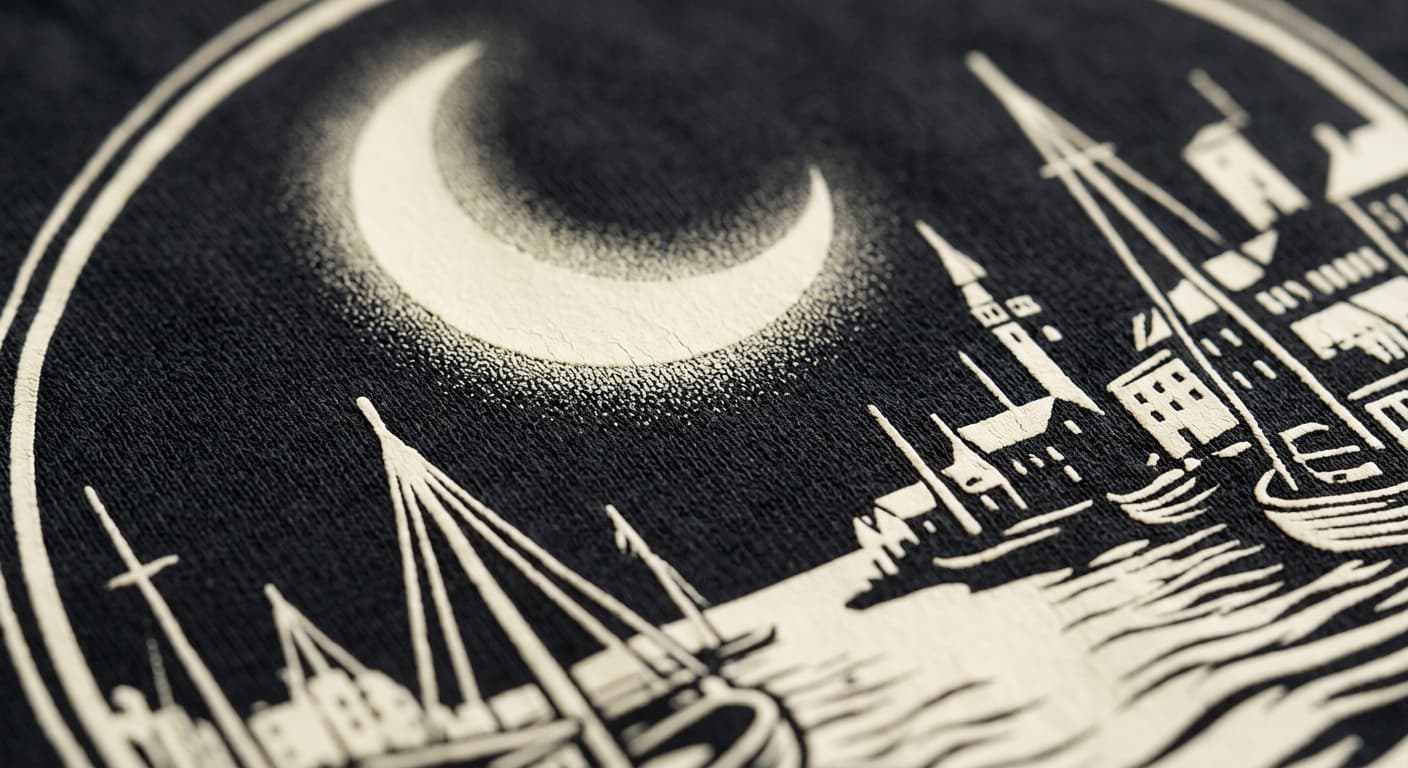
Graphic & Print Close-Up
Macro of the ink-to-fabric edge under side daylight, showing the real print method.
This is the shot that sells the print rather than the garment. Macro mode or 2x zoom, 15-20cm away, side daylight, focused on the ink-to-fabric edge — close enough that a buyer can tell screen print from DTG from embroidery, which is exactly the thing a flat product shot hides.
 Optional
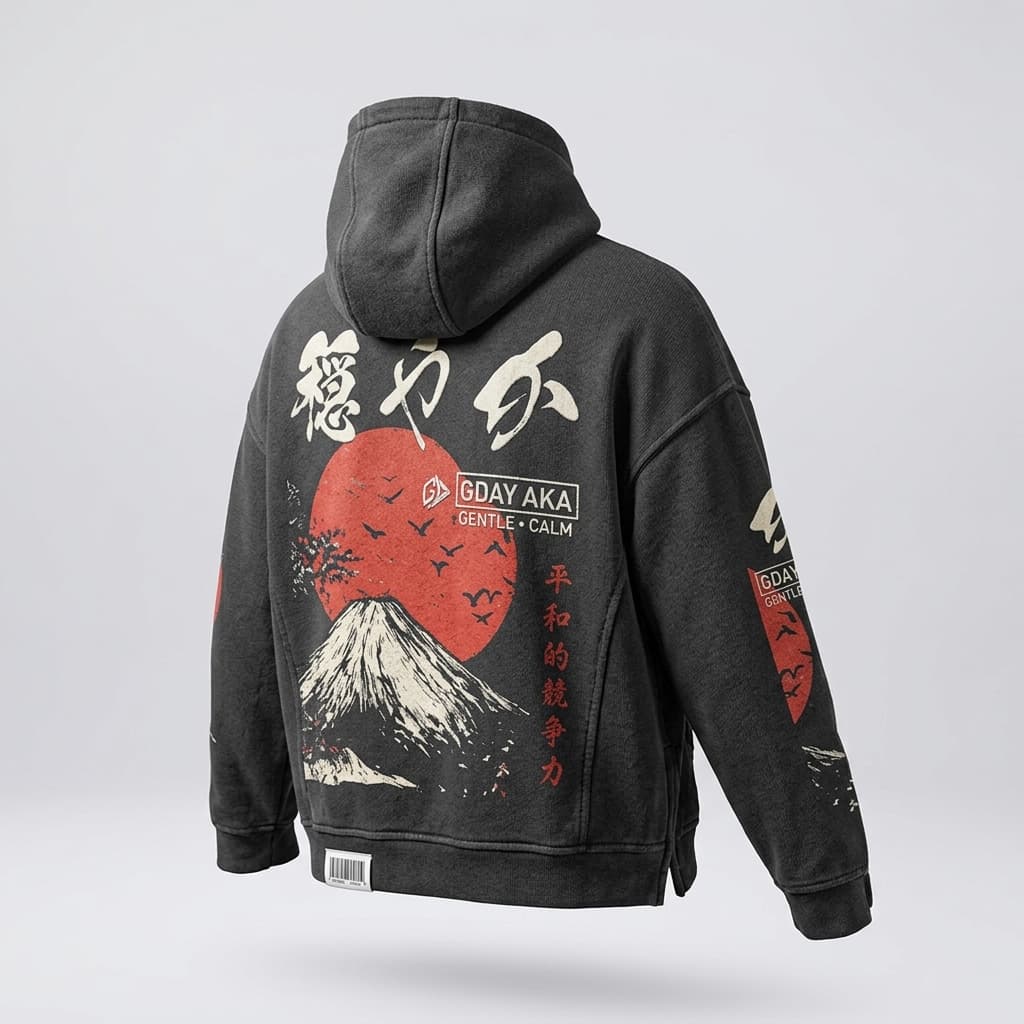
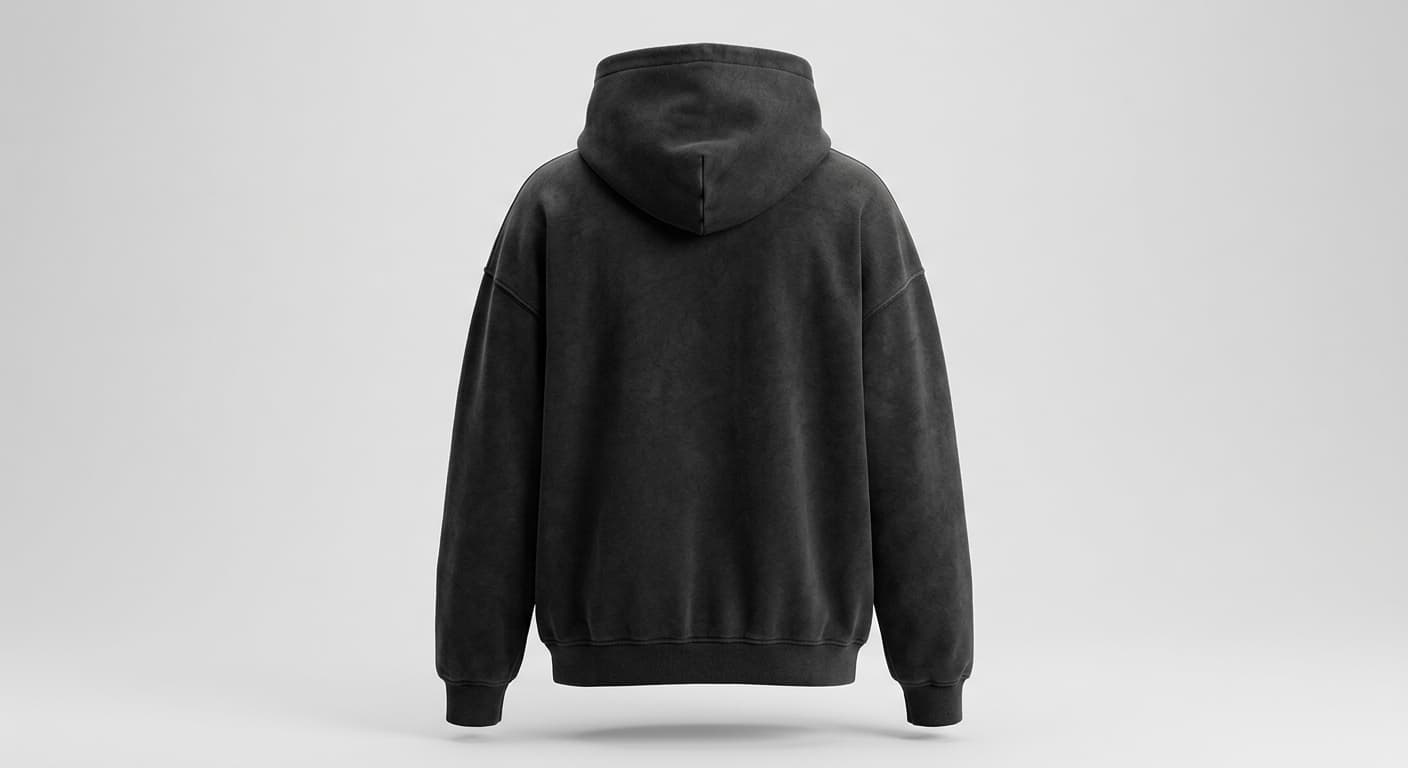
Back View & Print Placement
Same distance, height and light as the front, showing the back print or a clean plain back.
Same distance, height, light and hood position as the front, so the two read as a pair. If there is a back print it has to be photographed — a back design cannot be inferred from a front-only shot, and mirroring the front graphic onto the back is worse than leaving it out.
 Optional
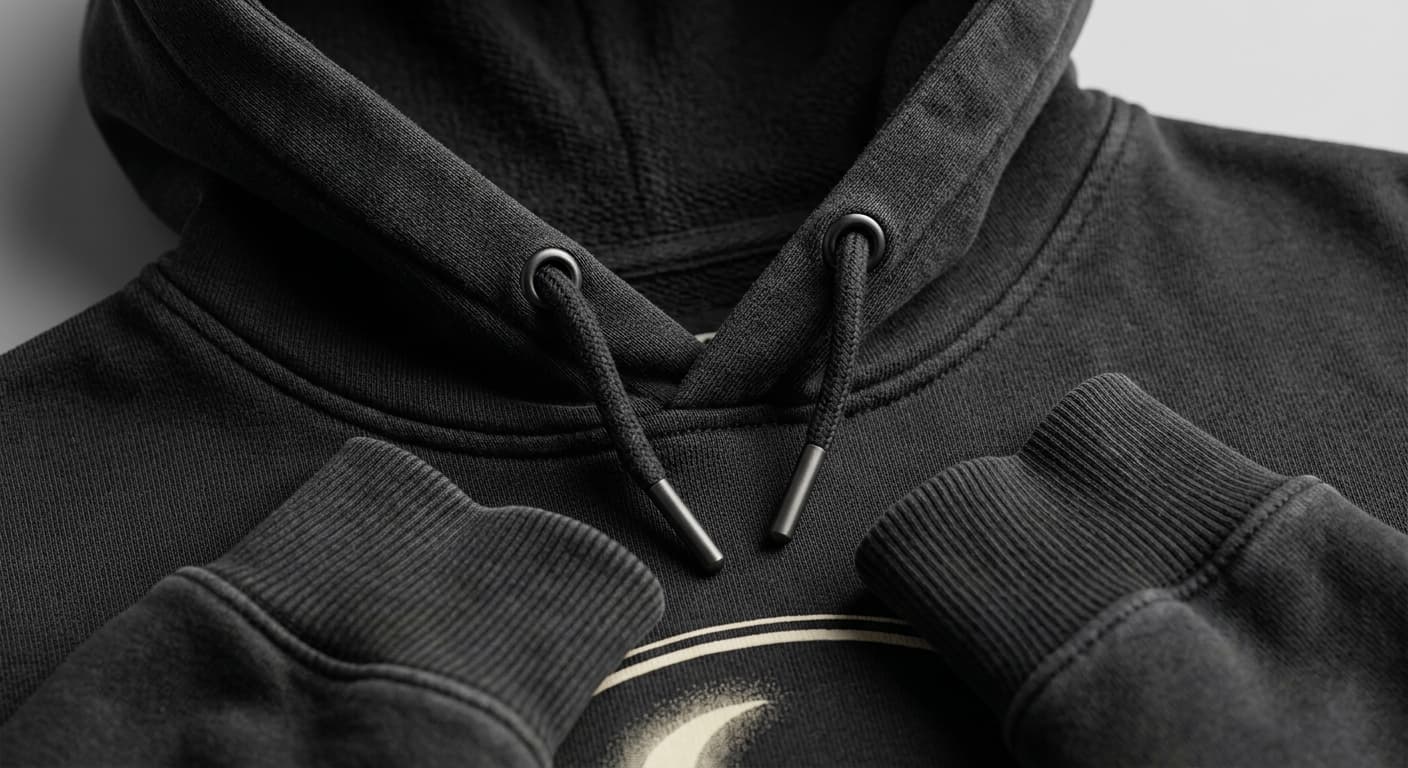
Hood & Construction Detail
Hood opening, drawcord tips and pocket seam at about 45 degrees on a contrasting surface.
Shoot the hood opening, drawcord tips and pocket seam at about 45 degrees on a contrasting surface. This is where weight shows: rib density at the cuff and visible thickness at the hood edge are what separate a heavyweight hoodie from a thin one in a photograph.
 Optional
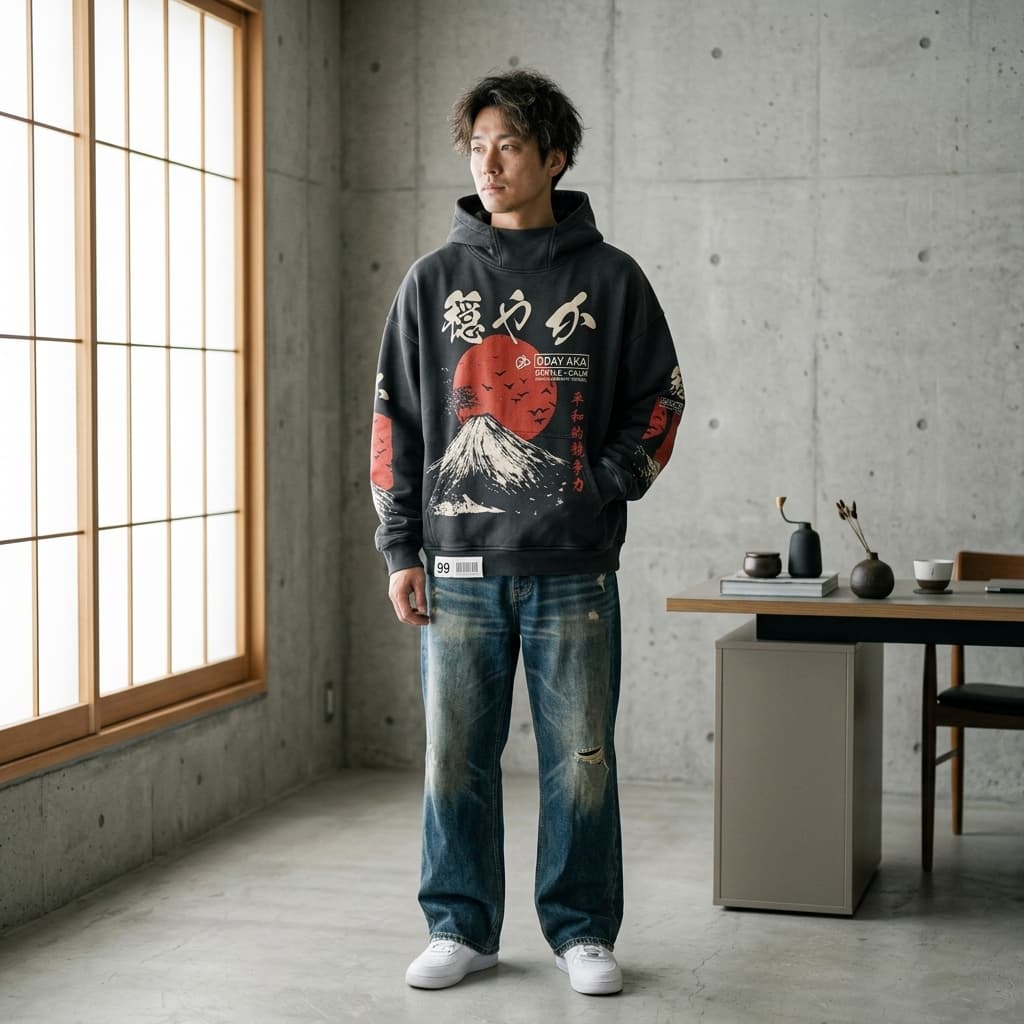
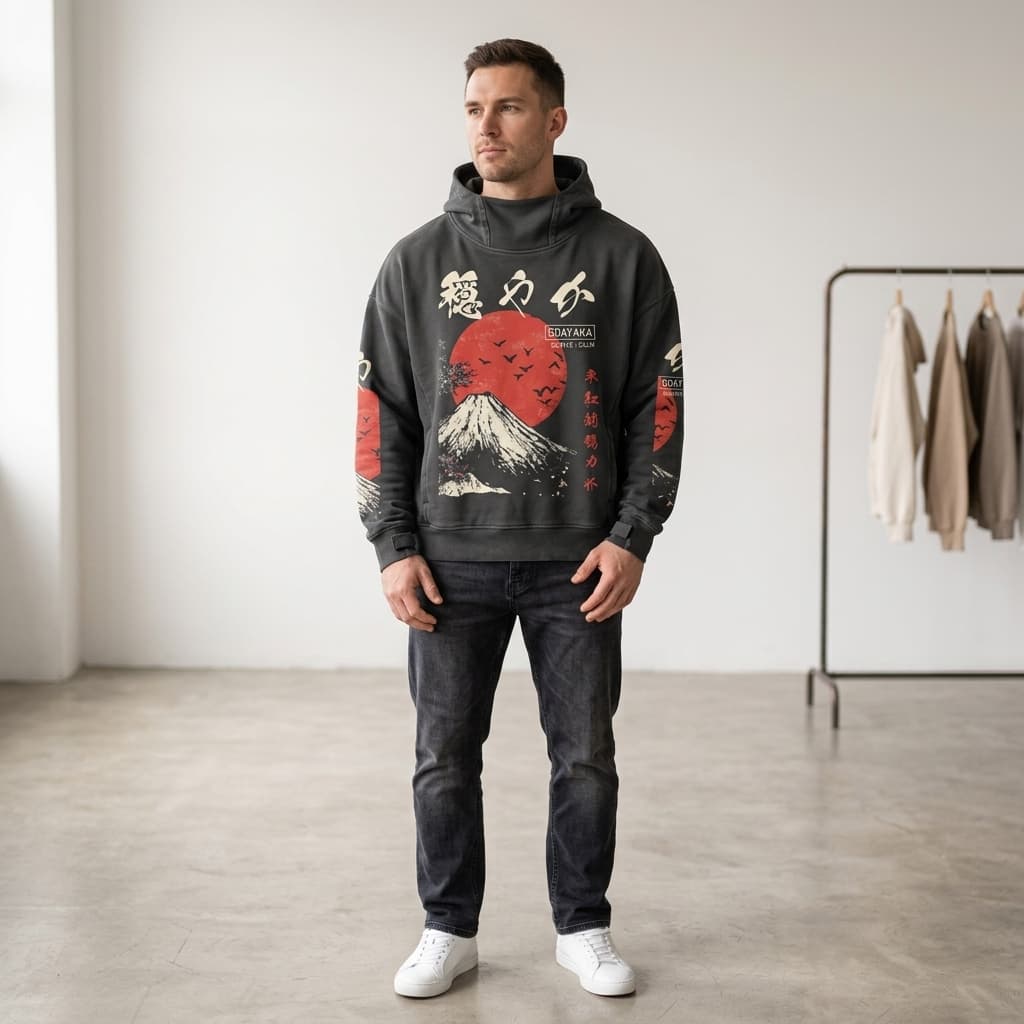
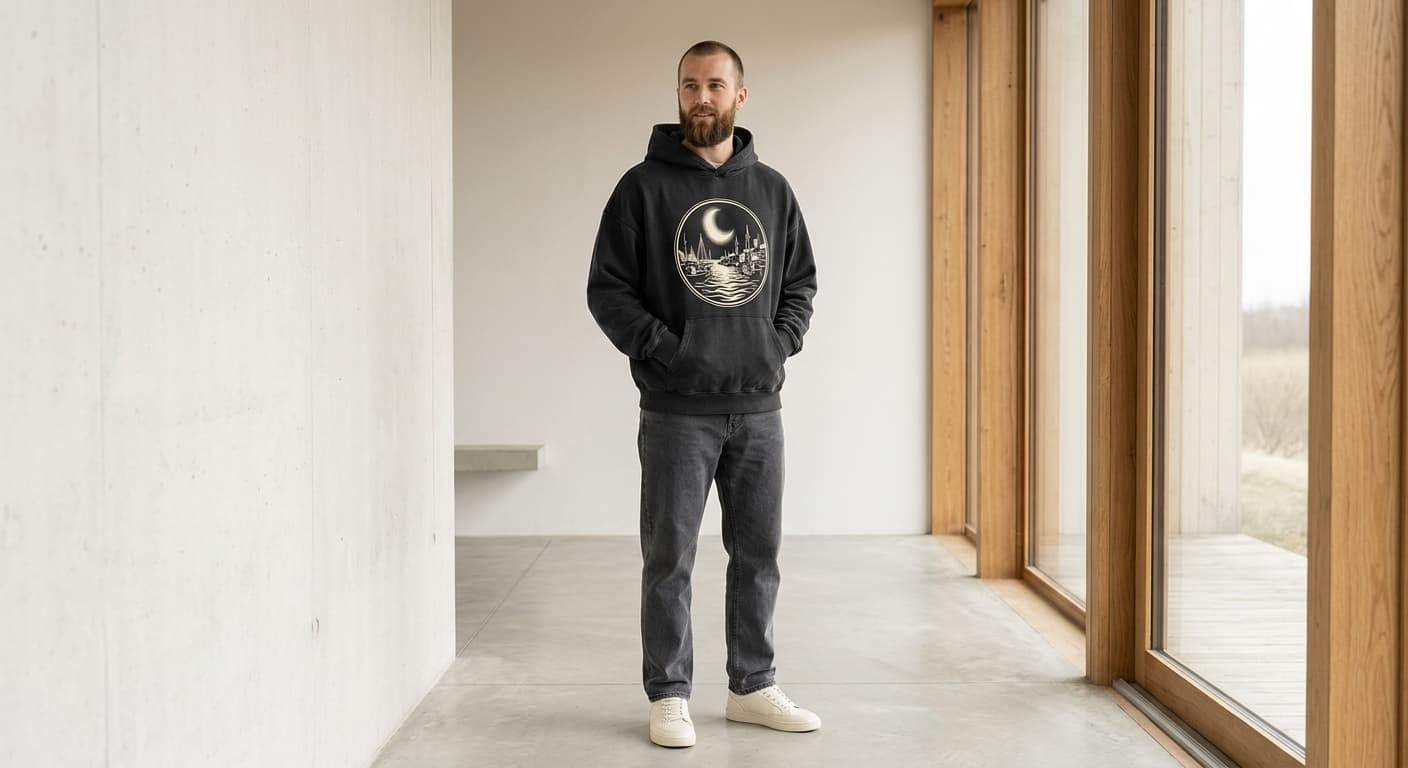
On-Model Fit
Relaxed pose framed head to mid-thigh, with height and size worn stated when you have them.
State the model’s height and the size worn, and use a relaxed pose framed head to mid-thigh. Keep the fit honest — an oversized hoodie has to look oversized on the model, because a garment flattered in the photo becomes a return when it arrives.
- Optional
Visual Story
AI-generated video bringing the product to life across multiple angles.
A short clip does what a still cannot: it turns the product through several angles in one continuous take, so the shopper sees how it catches the light and how the parts relate. AdaptiveIQ generates this from your hero shot, so it costs nothing but a click.